How to hike Kilimanjaro
Climbing Kilimanjaro is a bucket list item many of us would like to check off. But it’s not as simple as it seems. If you’re interested in conquering this beast, then you’ve come to the right place.
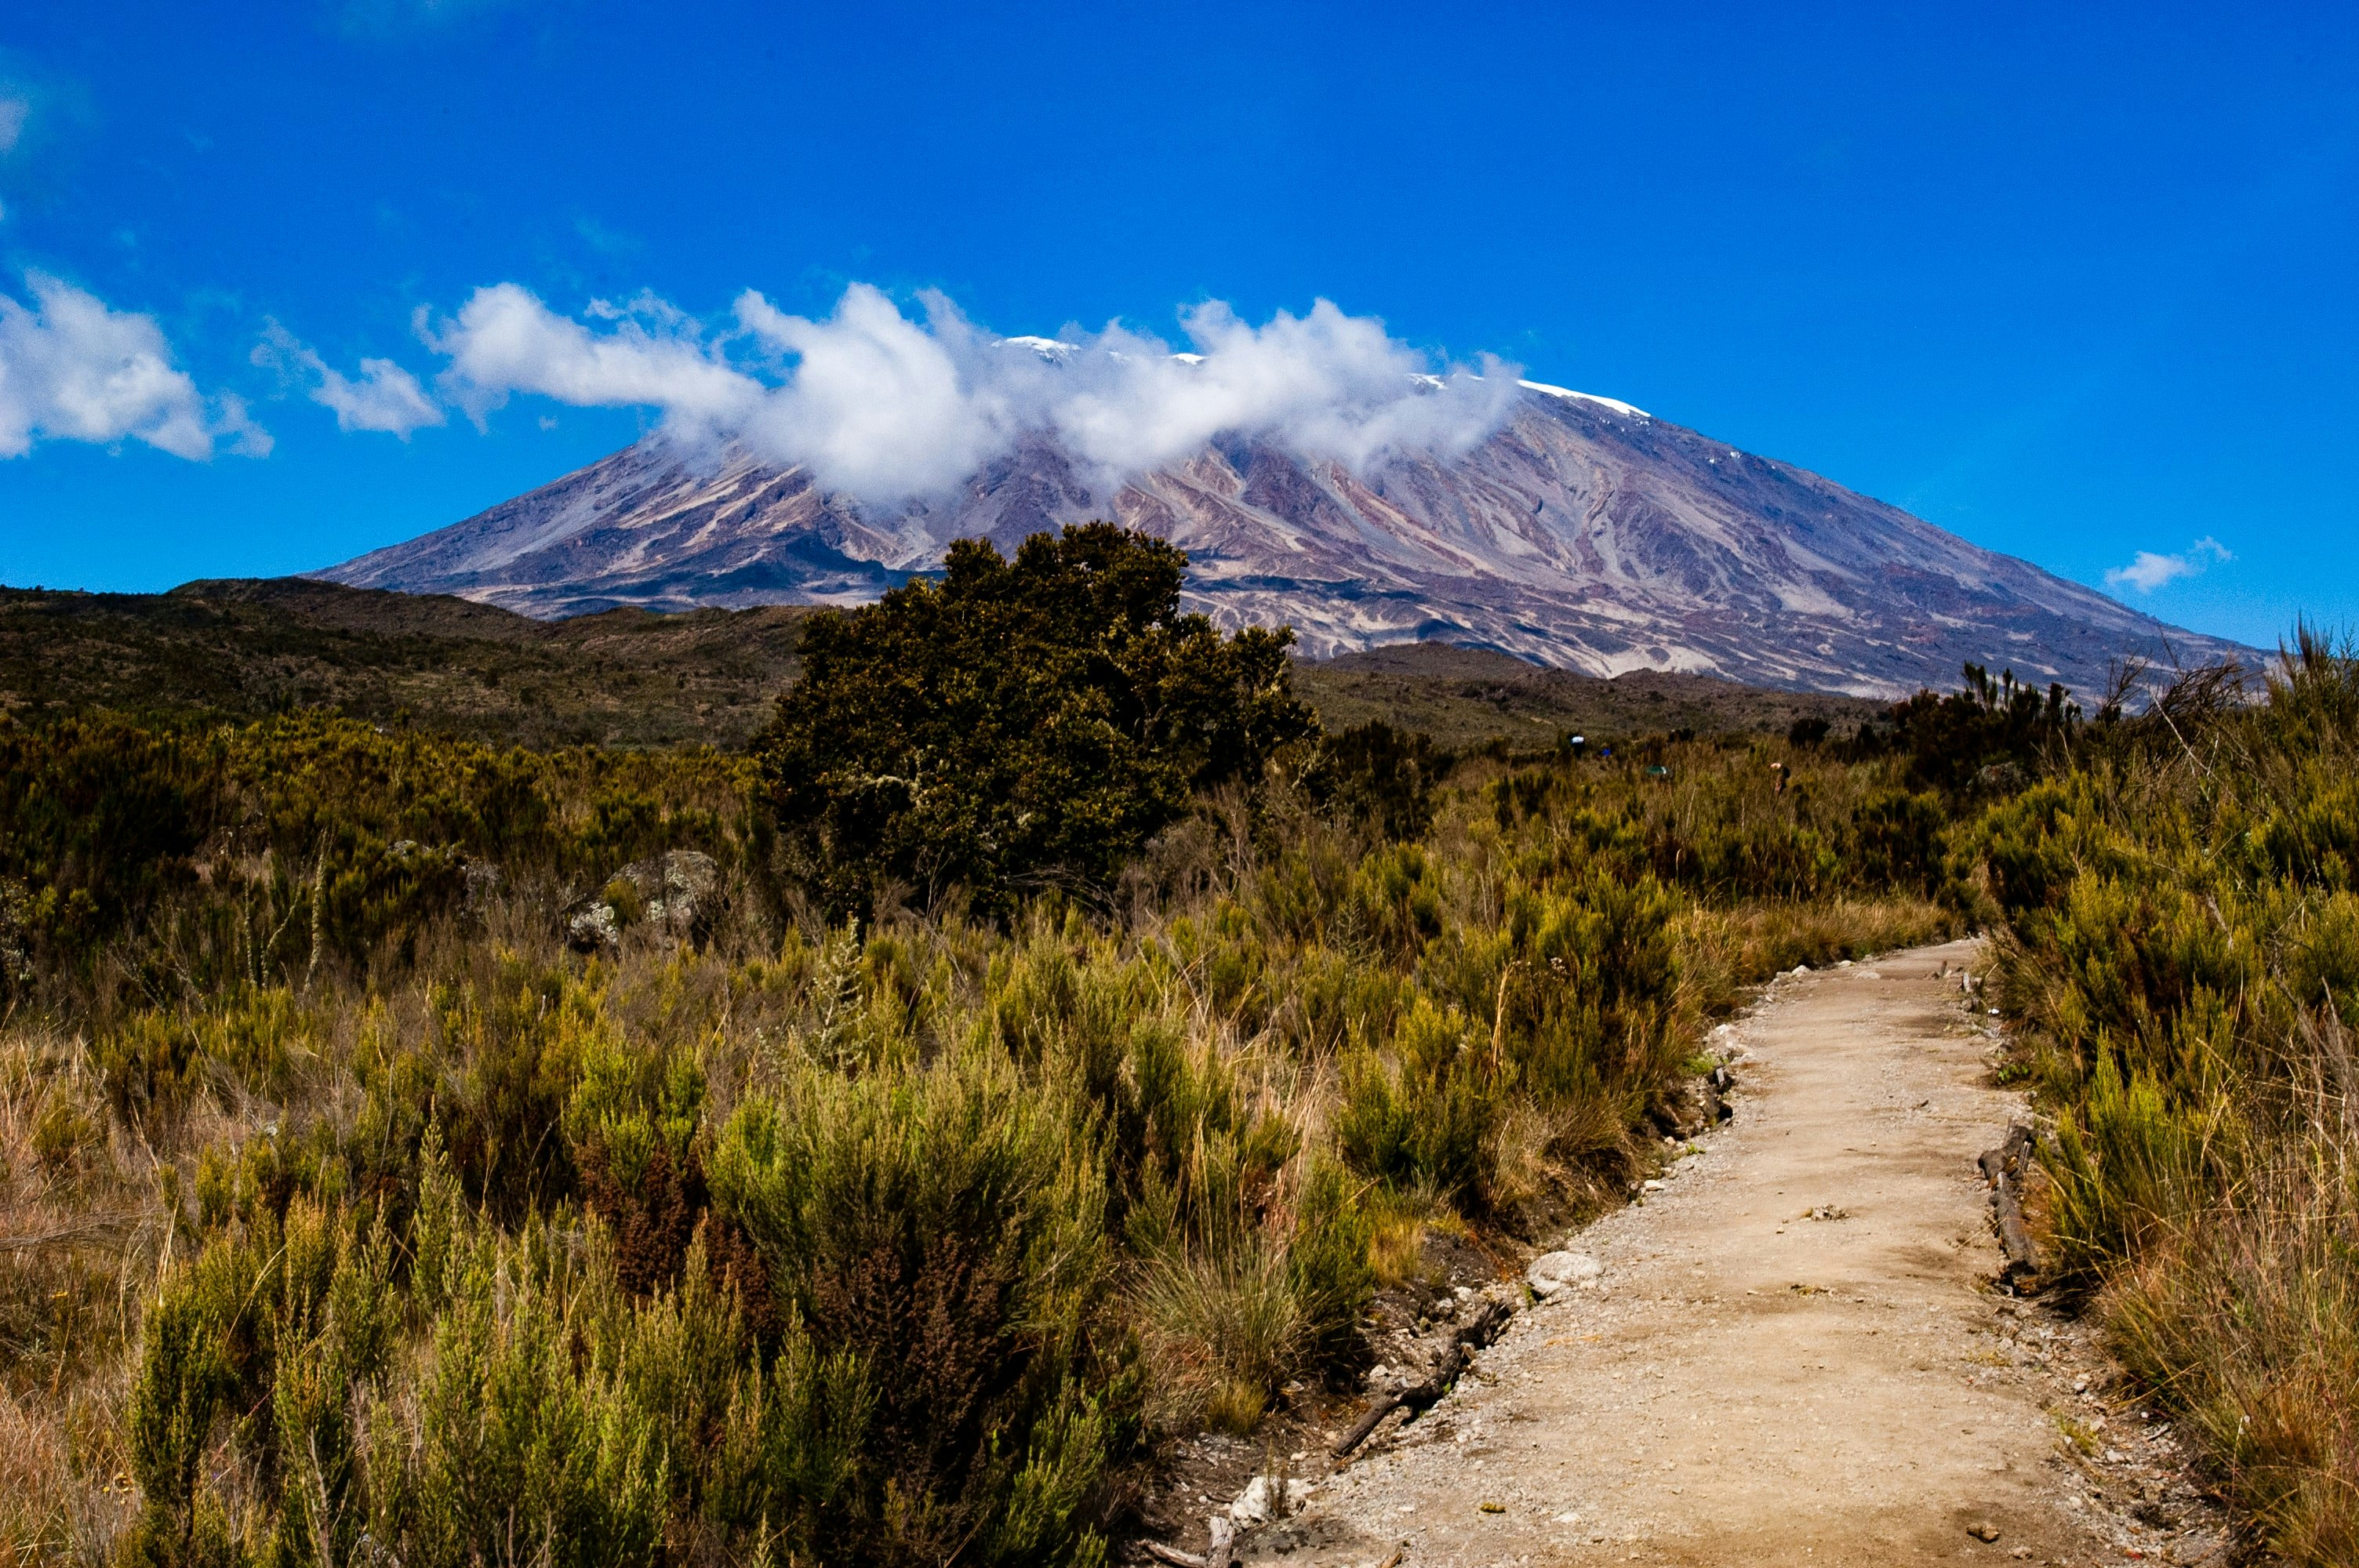
Kilimanjaro is the highest free-standing mountain in the world, the tallest mountain in Africa, and the largest volcano in the Eastern Hemisphere. Located in Tanzania, this dormant volcano is a cluster of three cones, and tops out at 5,895 metres! Currently, it still has glaciers and snow covering the year-round (projected to be completely gone by 2035, sadly), and is one of the Seven Summits. As such, it’s truly a sight to behold, and is one of the top climbing destinations in the world, especially as it has a relatively low barrier to entry in terms of mountaineering skills, and has a selection of different paths of varying difficulties which lead to the peak. As you can already tell, we’re all about Kilimanjaro here, so if you’ve come looking for a guide to help you scale this African behemoth, then get settled in, because you’re in the right place.
Before we get started, make sure your gear can withstand any challenges ahead and check out the newest outdoor jackets and outdoor pants at Ridestore!
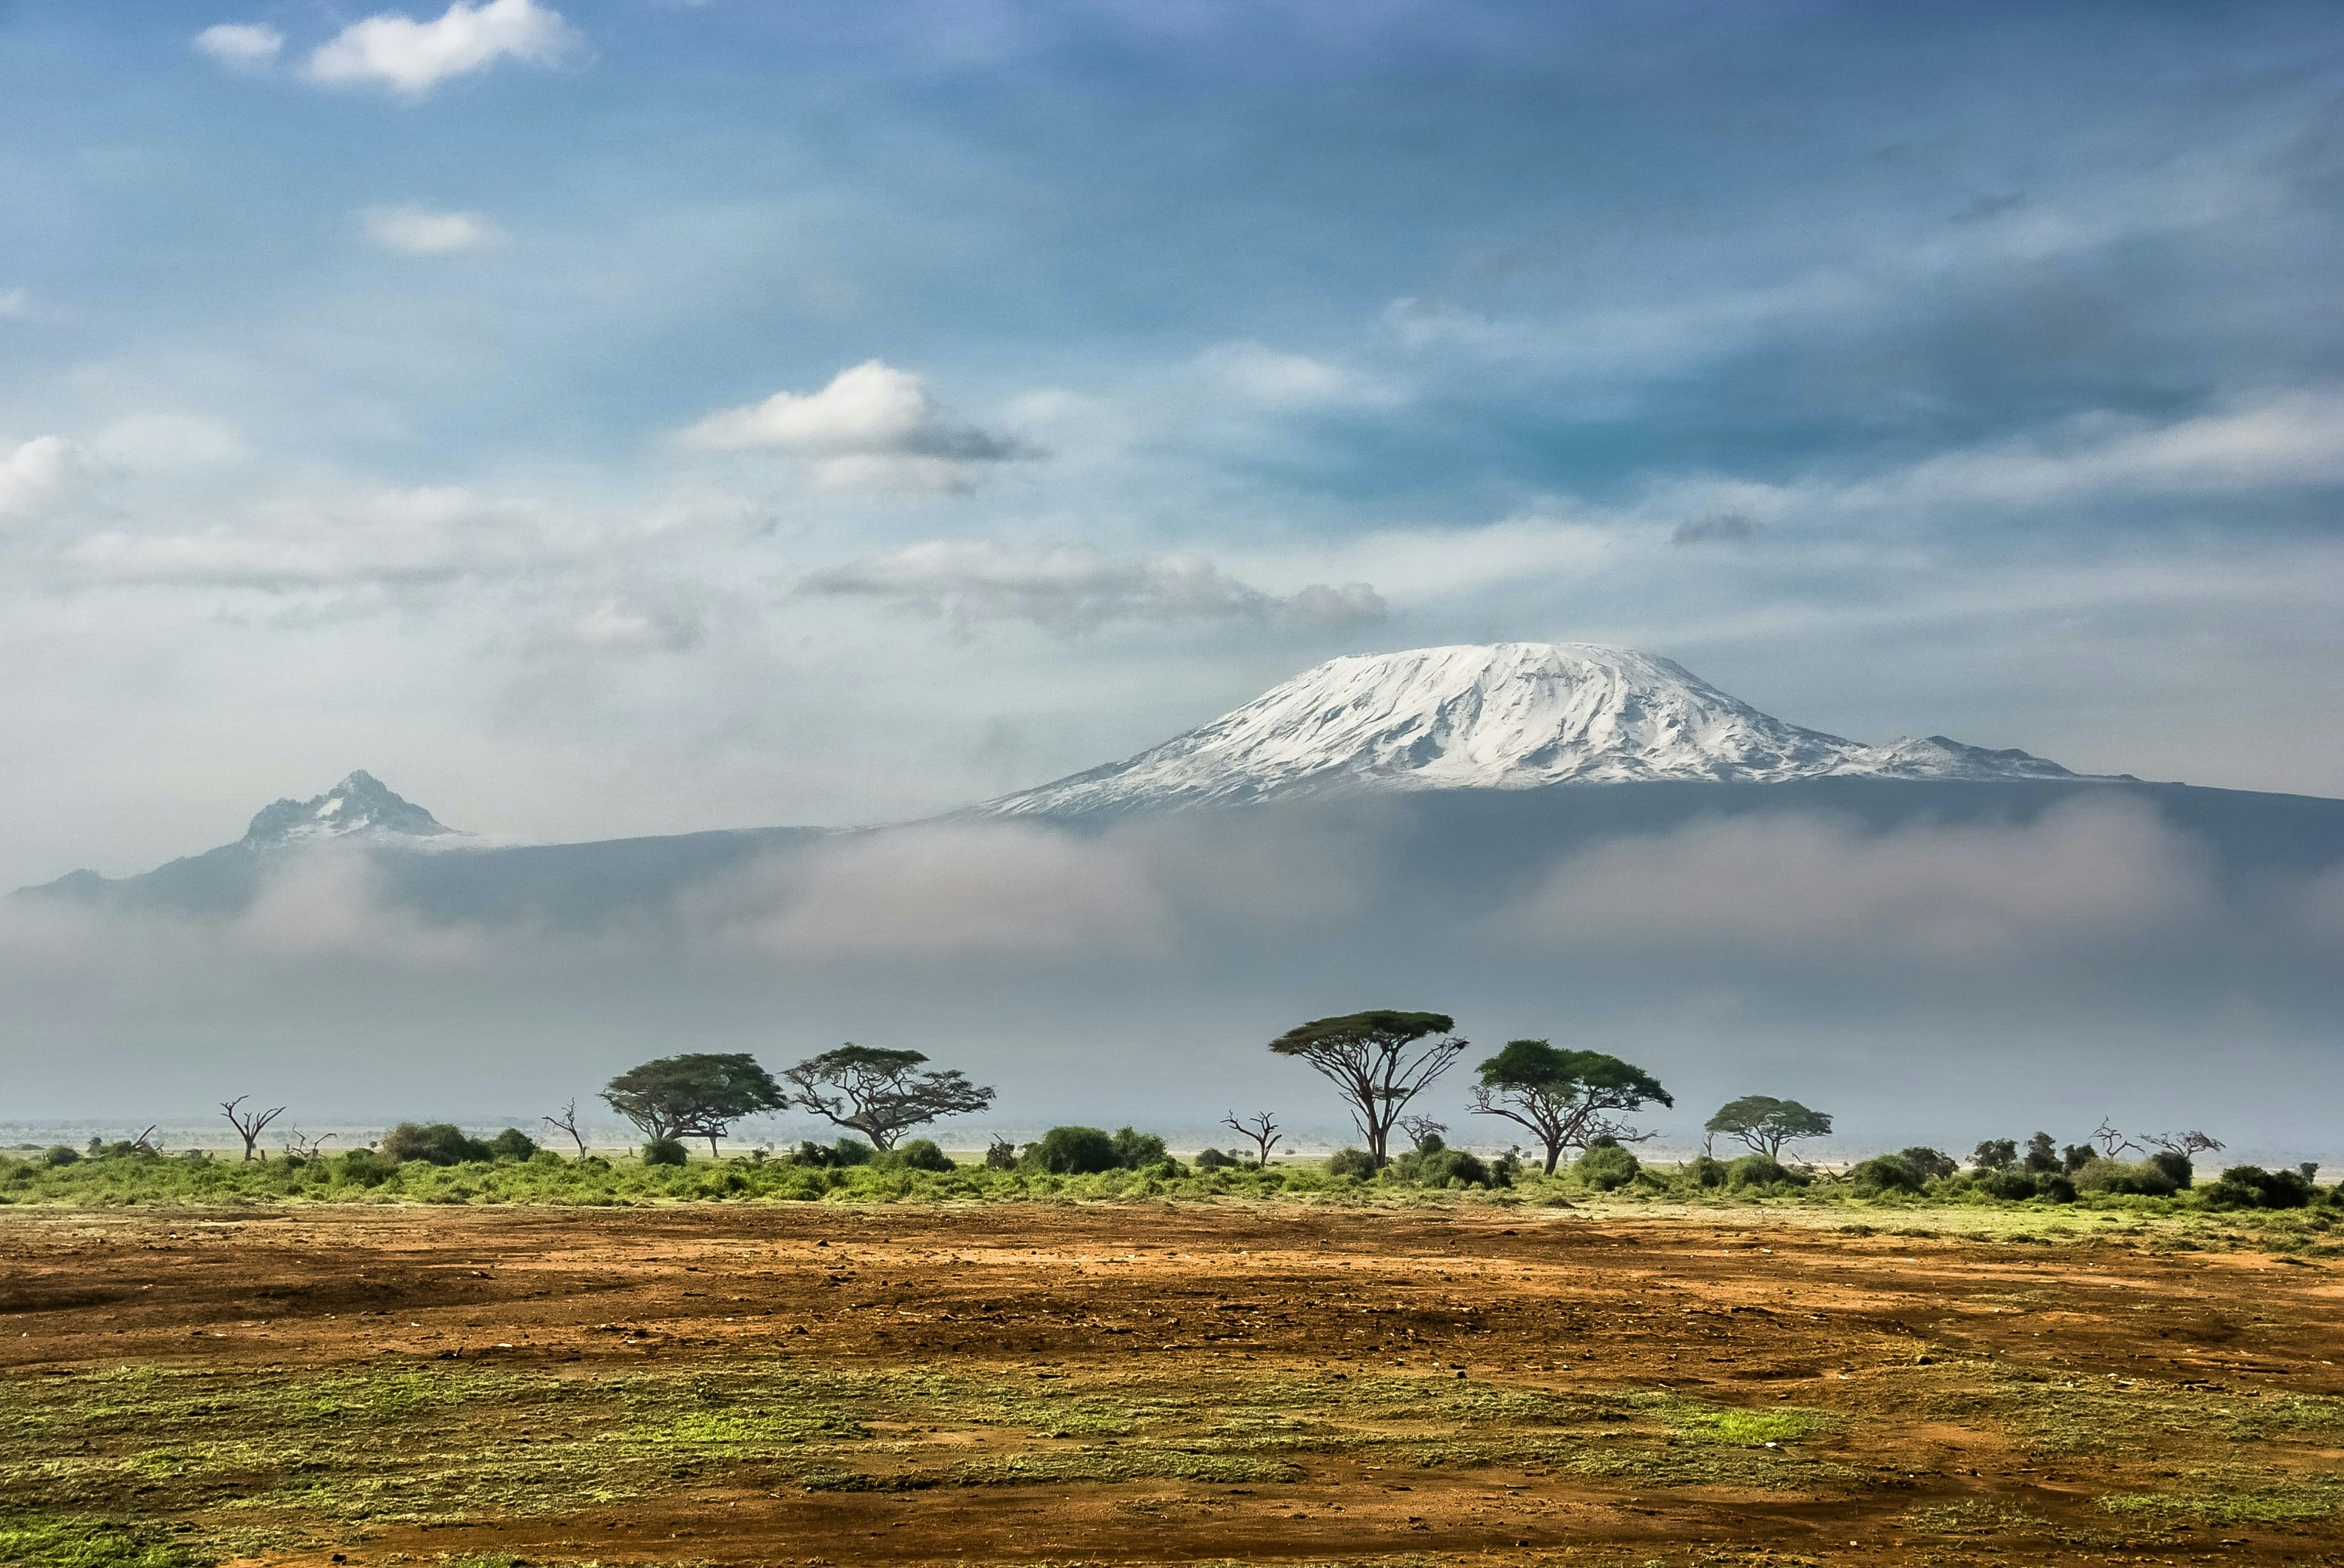
Table of contents
Where is Kilimanjaro?
Kilimanjaro is a dormant volcano located in the North East of Tanzania in Sub-Saharan Africa. Tanzania is a coastal country in the Great Lakes region of Africa and is an important country for its hominid fossil history as well as its role in conservation of several endangered species.
Made of three distinct cones, Kilimanjaro is a snow-capped, glacier-topped mountain. The highest cone, Kibo, is where the official peak of Kilimanjaro lies. Uhuru Peak is the highest summit and is located on Kibo’s crater rim, at an official height of 5,895 metres above sea level (19,341 feet). Mont Blanc, the highest peak in the Alps, stands at 4,809m, which is a full kilometre shorter than Kilimanjaro. That’s ten football fields! But, interestingly, Kilimanjaro’s majesty comes from its prominence, which is the height it stands out from the surrounding landscape. This measures at 5,885m, which makes it the fourth-most prominent mountain in the world (behind Everest, Aconcagua, and Denali).
The other two cones of Kilimanjaro are Mawenzi at 5,149m, and Shira, at 4,005m, both of which are classified as extinct. Kibo, the highest cone, is technically classified as dormant, which means it’s not expected to erupt, but may do again in the future.
How to get to Kilimanjaro
Most of the time, routes to Kilimanjaro are the same. You’ll travel from your nearest major airport to Nairobi in Kenya, and then probably catch a connecting flight to Arusha. Depending on where you’re staying, you’ll either travel to Kilimanjaro from Arusha directly, or you’ll catch a bus connection to Moshi or Marangu, which will be your base for the duration of your trip. Marangu is the closest to Kilimanjaro, so if you want the experience of sleeping under the mountain, then Marangu is the place you’ll want to stay. However it is a small town, so don’t expect luxury. And it’s likely you’ll be hiking the Marangu route, which is widely regarded as the most accessible (and the only one with accommodation on the mountain). If you want to do a lesser travelled or wilder route, then staying in Marangu shouldn’t be a prerequisite for you. Speaking of which.. more about that later.
Is climbing Kilimanjaro difficult?
Kilimanjaro is widely regarded as one of the easier mountains to summit — at least when you’re talking about those of this kind of height. A lot easier than hikes in the Himalayas, the Andes, or the Rockies, for example, Kilimanjaro is a mountain that many can, and do, cross off their mountaineering bucket list.
This is because Uhuru Peak is regarded as non-technical. What that means is that you don’t need any mountaineering experience or training to do this ascent. It’s all walking. The relatively low grading of the sides means that a steep hike is the hardest things will get. Therefore, the main challenges lie with the fitness required to make the climb, and the required acclimation to the altitude.
It’s so high, in fact, that the ascent takes five days to make, with periods of ascending and descending in the same day, in order to get your body used to the lack of oxygen. Though, despite this, people of all ages and fitness levels do complete the climb. As such, it’s one of the most popular, and accessible mountains to choose from, especially now that it has such well-tracked paths leading from the base right to the summit.
Ecological zones
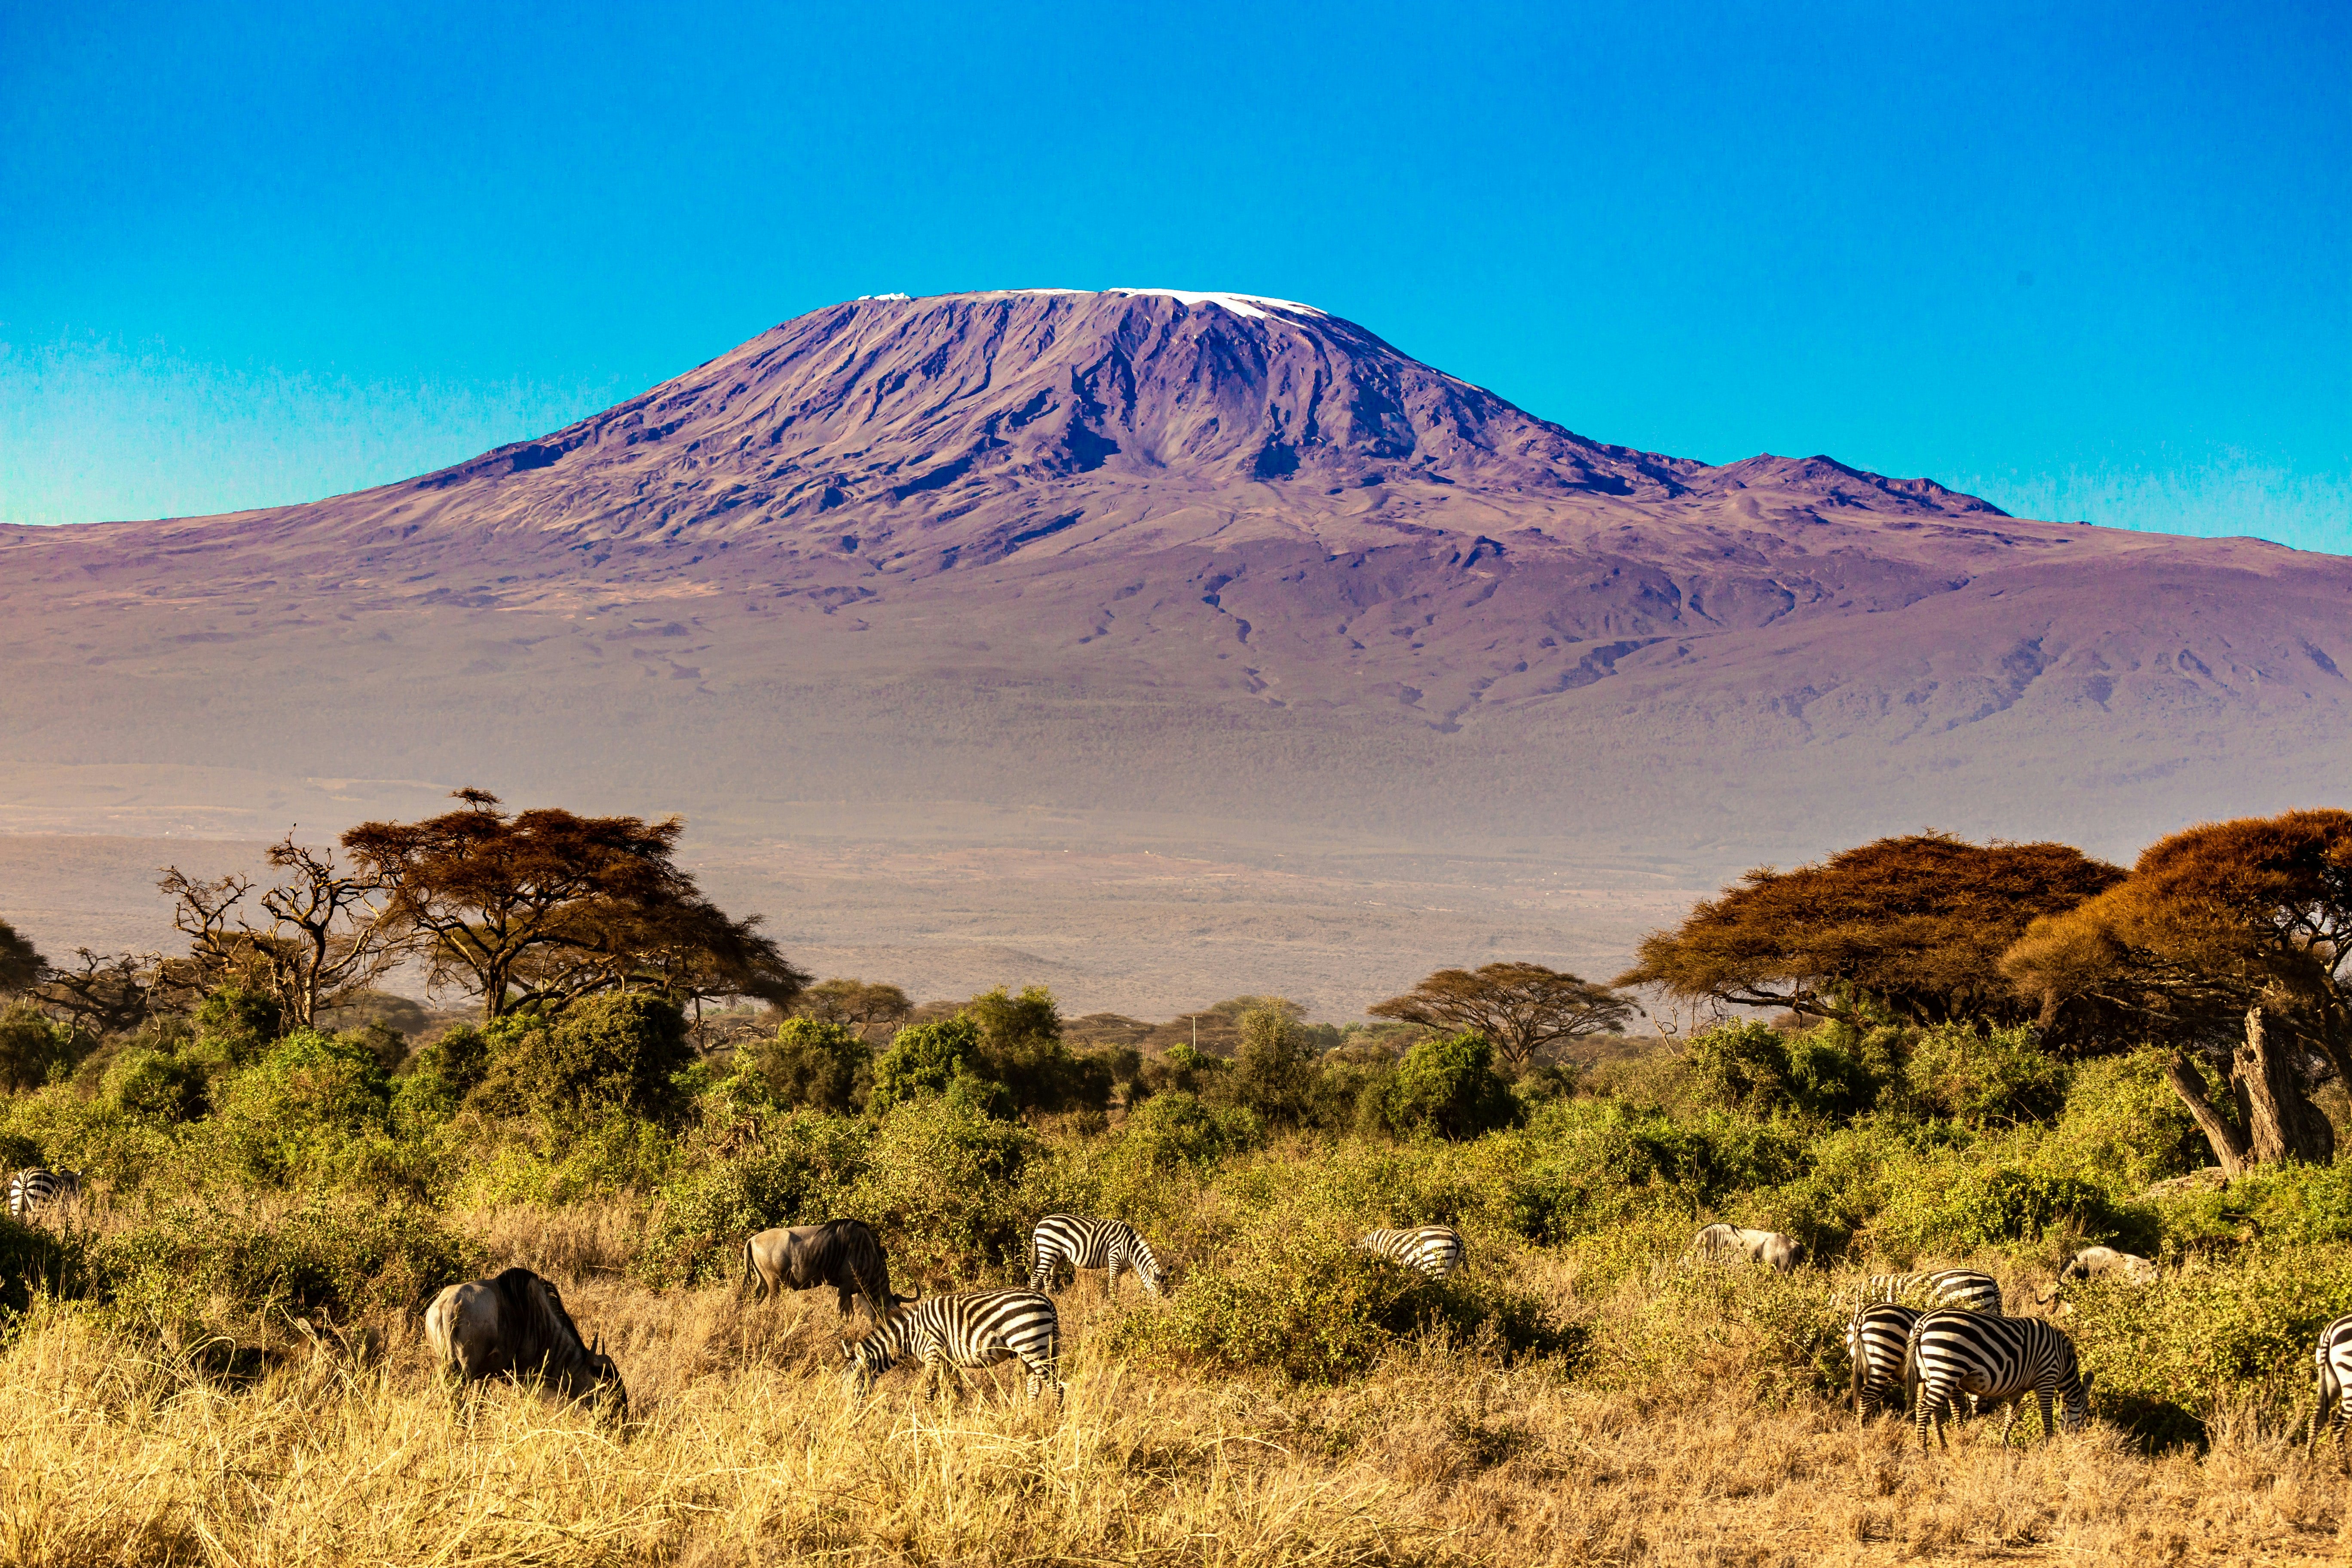
Home to its own national park, the aptly named Kilimanjaro National Park, this vast mountain is split into five distinct climate zones, separated by height. You’ll end up passing through all of them if you decide to tackle this mountain, and will get to see some amazing things.
800 - 1,800 metres above sea level: The Bushland Zone is located at the foot of Kilimanjaro and is where you’ll find the surrounding towns from where you’ll commence your journey, like Arusha, Moshi, and Marangu. The Bushland Zone receives lots of rainfall thanks to the microclimate surrounding the mountain, as well as its elevation, and is home to many glacial streams. This band is pretty cold and misty and is a popular place for the cultivation of coffee and bananas.
1,800 - 2,800 metres above sea level: It’s in the rainforest zone that you’ll really begin to notice that you’re walking uphill. This is where the ascent ‘officially’ starts, and despite its higher elevation, is warm and humid, and exploding with life. In this zone, you’re likely to come across some exciting wildlife including monkeys, as well as perhaps even leopards, elephants, giraffes, and buffalo. Though around the towns, it’s unlikely to come across anything but mischievous monkeys. The rainforest zone is the reason wet-weather gear is essential for an ascent, though if you don’t like the rain, look for an expedition heading up the north side of the mountain, as it tends to be a lot drier than the forested southern side.
2,800 - 4,000 metres above sea level: As the climate gets drier and colder, many of the indigenous plants to Africa aren’t able to thrive. As such, you’ll see the forests and vegetation thin as you climb, and you’ll eventually enter the low-alpine zone, a much more arid and open type of landscape. Walking through this zone, you’ll break through the cloud line and lay eyes on Kilimanjaro’s snowy peak towering overhead. Keep an eye out for vultures, buzzards, and eagles, all of which hunt and scavenge in this open zone.
4,000 - 5,000 metres above sea level: Above 4,000 metres, plant life will die off, and the animals go with it. Screaming birds, lush forests, and a world alive around you will all give out to an expanse of exposed rock and rust. Likened to the surface of the moon, you’ll be staggered by the clarity of the air, the vistas, and the sudden, biting cold. If you hadn’t noticed it before, this is where the altitude will really start to take its toll. Expect shortness of breath, dizziness, and elevated heart rate as you continue towards the peak.
5,000+ metres above sea level: Few humans ever climb this high, and for good reason! The Arctic Zone is unforgiving, freezing cold (cold enough to sustain ice year-round), and awash with loose, scree-like stone that shifts as you move through it. There are no trees up here, and you’re likely not to see much else, either … except for the amazing Kibo Cone and Uhuru Peak, of course, complete with the giant, world-famous Kilimanjaro sign! The peak offers panoramic views of the continent for hundreds of miles around, and upon reaching it, you can take pride in the fact that you’re at the roof of Africa, the tallest point on the entire continent.
Best times to climb Kilimanjaro
Kilimanjaro doesn’t really have an offseason. Due to its geographical location, it’s pretty temperate year-round at the base. At altitude, the temperature will drop regardless of the month you travel, so don’t worry too much about timing it perfectly. However, the months of March, April, and May, as well as November and December as historically the wettest months and are classed ‘rainy season’. During this time, trails get slippery and you’ll likely have to deal with wet gear and soggy socks, but it is still doable. Just something to bear in mind!
Can anyone climb Kilimanjaro?
The answer is yes, and no. You can indeed climb Kilimanjaro if you wish to, but it’s no mean feat. Firstly, it is expensive. And secondly, it requires lots of planning. The Tanzanian government have made it law that no one is allowed to make an unplanned, unguided ascent of the mountain. Due to the high altitude, the biting cold, the inaccessibility, and the issue of rescues from 5,000+m being extremely dangerous and difficult, as well as that it lies within a protected national park, and all topped off by the fact that it’s a major driving factor in Tanzania’s economy and tourist industry, it’s not advisable, or even possible, to try to go it alone.
Guided ascents
There are many companies which offer guided ascents. These are usually group ascents where a selection of guides and porters will lead you up and back for five days, with between three and eight hours walking per day, getting you used to the incline, altitude, and demands of the ascent. These tours will consist of a mixture of camping and hotel/apartment stays, with the final day consisting of a marathon twelve to sixteen hours of walking, where you’ll reach the peak and then make a full descent all in one day, practically.
Tour operators are very good at this, and most offer fully organised packages including flights, transfers, stays, and provisions for the time you’re there, too. This is what makes a ‘Kili’ trip so desirable for most. Because you certainly can’t just turn up to Everest like this! It’s such a wonderful experience to be able to arrive at the foot of such a gigantic mountain and then climb it, and then be home the next week again! Few places in the world can match this, and nothing is lost by joining a group by yourself or with a friend, or organising a larger group to go.
Can you make an unguided ascent?
By law, you aren’t allowed to go on your own. You must have a licensed guide and two porters to make the journey. Most groups will tackle one of the better-known routes, but if you wanted to book yourself a private guide, you’ll have a better chance of being able to tackle a tougher, lesser-known route, which won’t be fraught with other climbers. If this is your preference, then book a long way ahead, and be prepared to pay the extra for it. You’ll also need to book all of your transfers, hotel stays, provisions, and everything else separately, too! Not impossible by any stretch, but definitely a lot trickier than booking through a travel agency or tour provider.
How much does it cost?
The simple answer is, it ain’t cheap. A trip to climb Kili can range anywhere from £1,500 to around £5,000. There’s a wide range because you can do it ‘cheaply’, staying in budget accommodation, hiking in a large group with worse provisions and less experienced guides, doing the easier, busier routes, or you can do it expensively, with top-drawer guides, more bespoke trips, with higher quality accommodation and provisions.
While that’s a very large range, most ‘good value’ options that offer a mix of quality, safety, and price conscientiousness, will fall in the £2,000-3,500 range depending on where you’re flying from, and the size of your group. This doesn’t take into account the gear you’ll need, though, which, including quality boots, waterproof gear, tents and other camping gear, and all the specialised accoutrement that the shop assistant in your local outdoor store is going to try to convince you is essential, is likely to run you north of another £1,000, and likely double that if you spare no expense and end up going for top-end mountaineering gear.
Though, like with everything, being armed with information and knowledge will save you plenty of money and wasted Gore-Tex this-and-that which, following your trip, will likely live in a box in the attic forevermore. So, how can you begin to bring down these costs?
Charity and group climbs
Charity-sponsored climbs are a popular way to both support a good cause and get to climb this awesome mountain. Many tour operators will offer charity-sponsored trips, where they’ll offer packages where you pay a percentage and the fundraising pays a percentage. It’s up to you how you spend the money you raise, but many intrepid climbers will look to support a good cause because people are likely to be willing to give to it in order to help you subsidise the trip so that you can both raise awareness for the cause, as well as a little bit of money. This is something that will appeal to some, but not everyone, as fundraising isn’t really something that everyone wants to do. And if that’s the case, that’s okay, because there’s another way to help reduce costs, and that’s by booking as a group.
Many operators will offer shared accommodation in hostels or bunkhouses, will use buses for transfers that seat lots of people, and will have a team of guides and porters employed to ensure their guests are well catered for. Because of this, booking solo can be more expensive than booking as a large group. Larger groups will often find discounts from popular operators, especially if you book a long way ahead, and pay in full. This is the cheapest self-funded option, so if you fancy the challenge, scroll through your phone book and see who’s ready for an adventure!
Equipment and provisions
Like with all outdoor expeditions, there’s a necessity for the right gear. And Kilimanjaro is no different. While you probably already have a lot of it, we’ve put together a little checklist of the things you’ll want to think about on the lead up to your trip. Waiting until the week before to buy everything will be a real punch in the wallet!
Hiking boots
Because Kilimanjaro has no ‘climb’ elements, mountaineering boots are probably overkill. Though because you will be hiking between 45 and 50 miles during the week or so you’re in-country, a good, high-quality pair of hiking boots with ample ankle support and rock-solid waterproofing is necessary. Make sure to break them in before you go!
Wet weather clothing
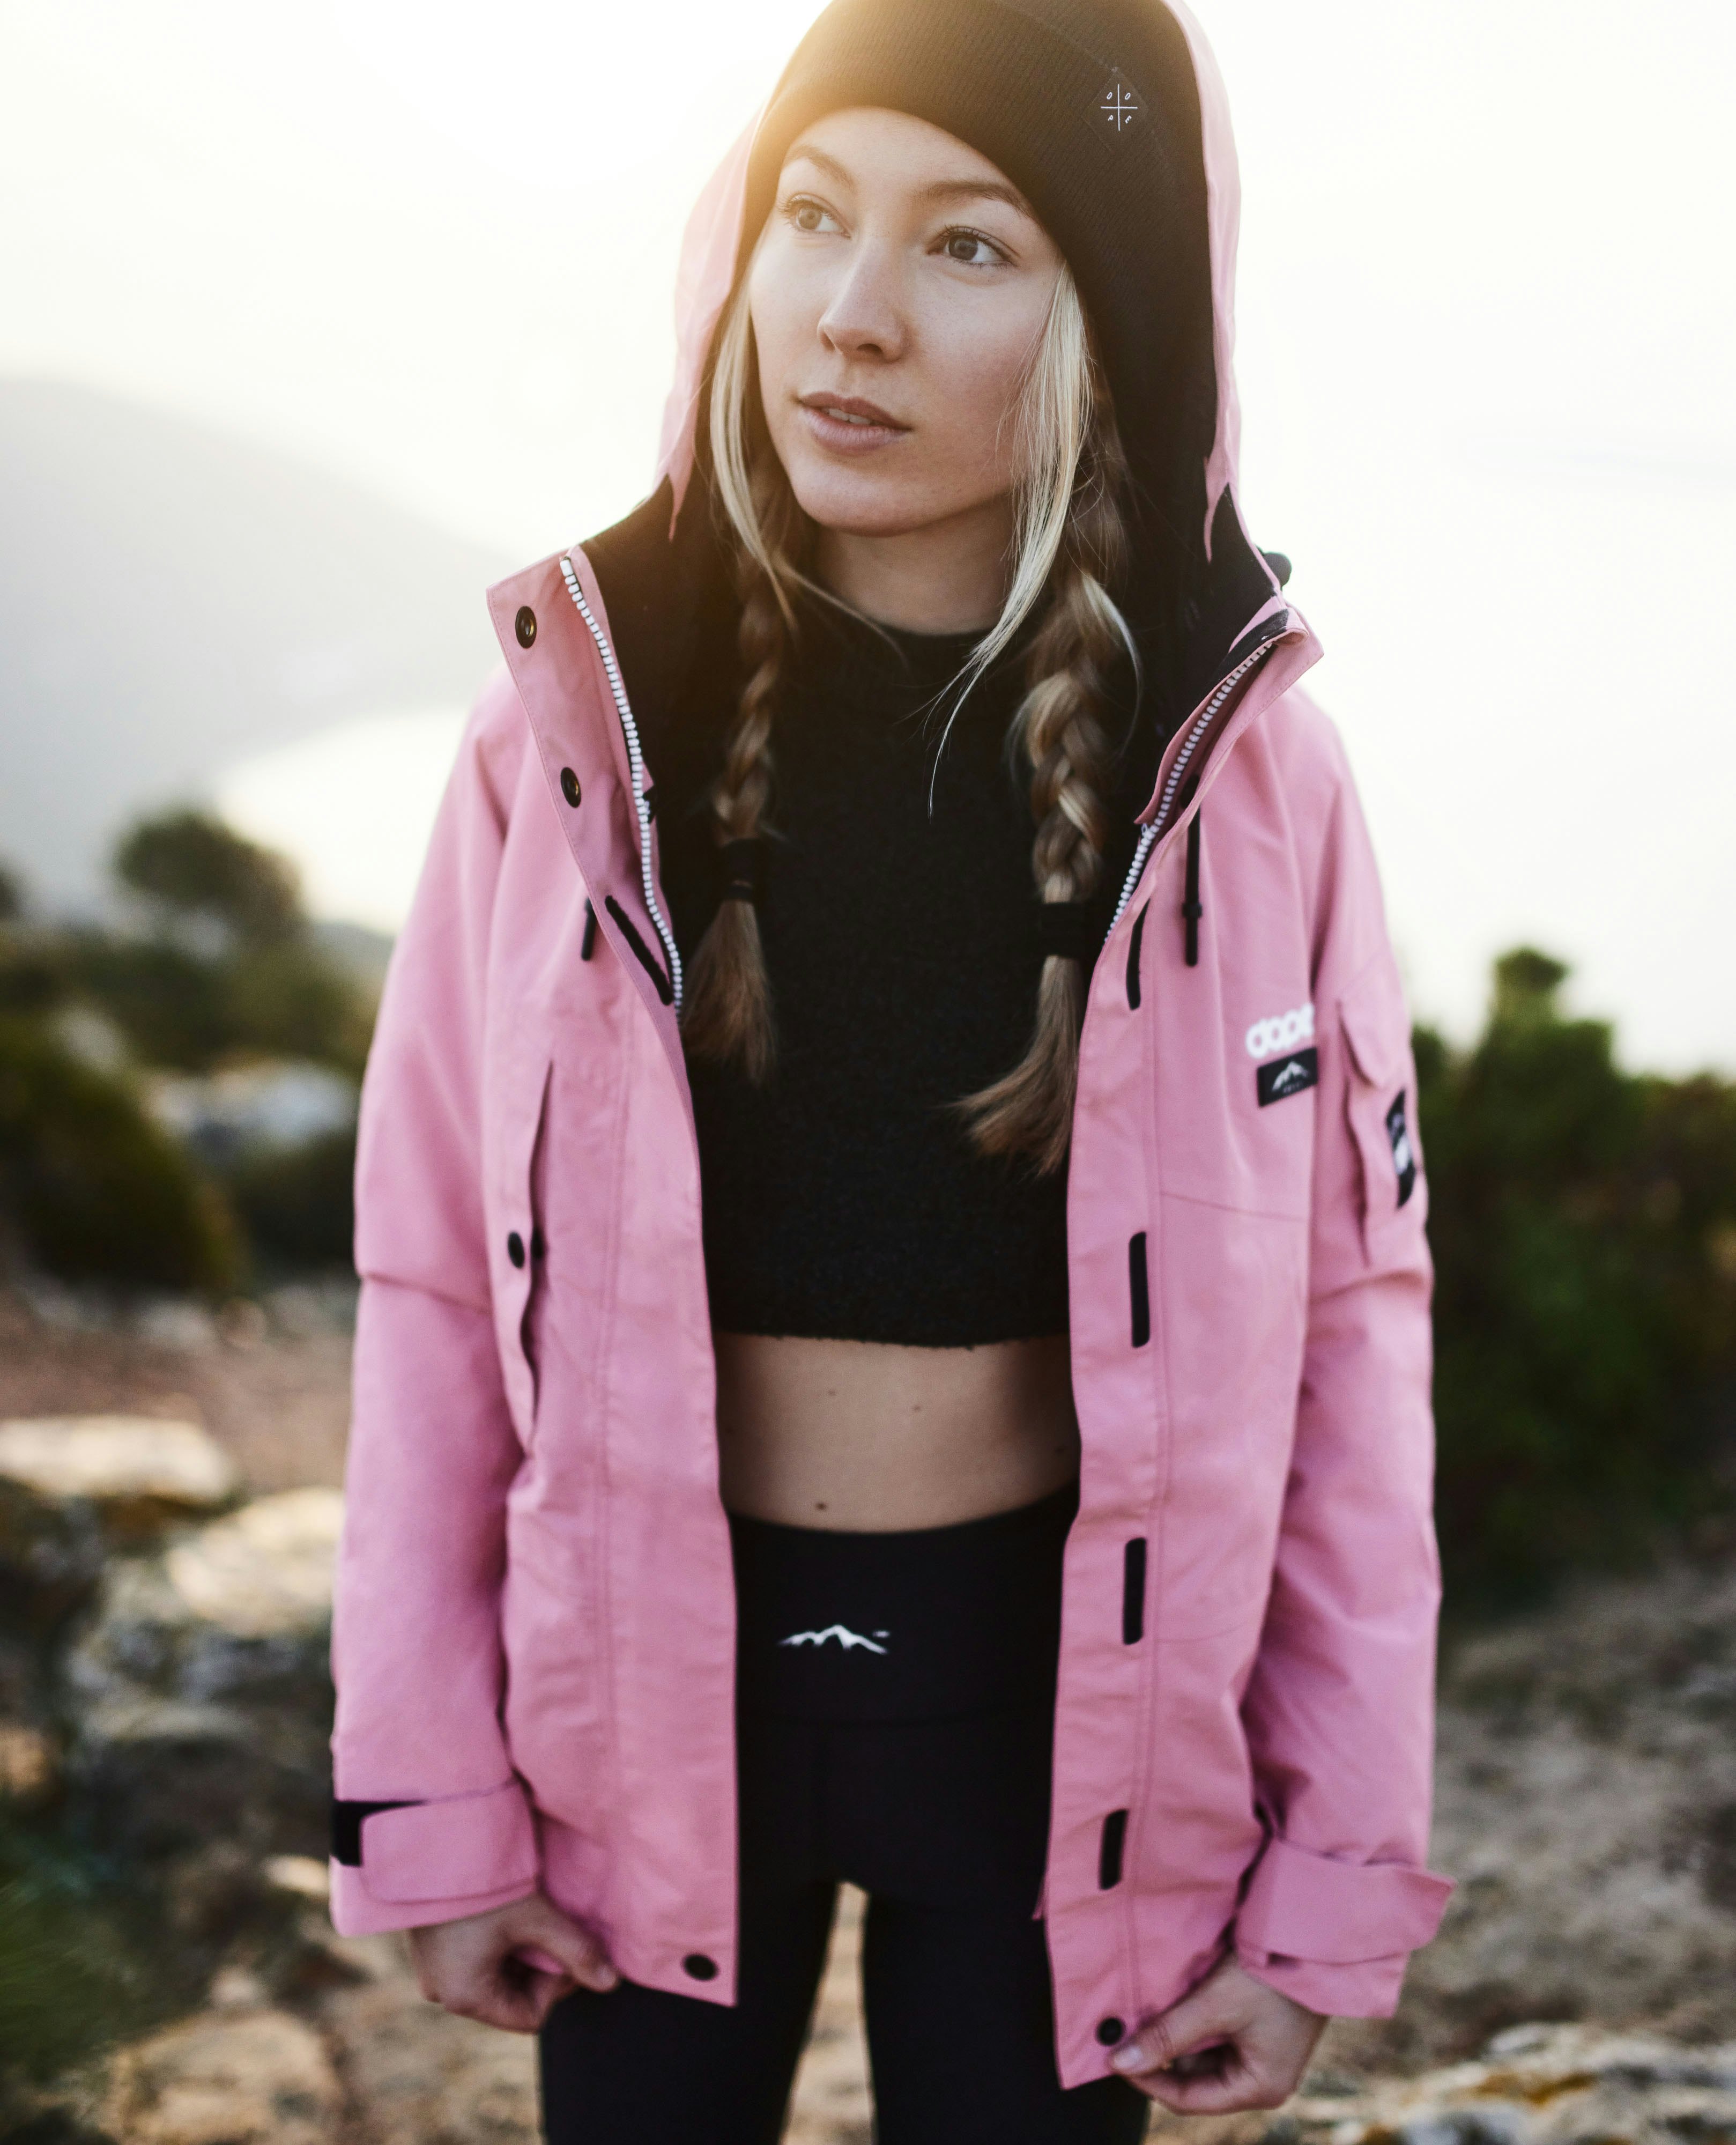
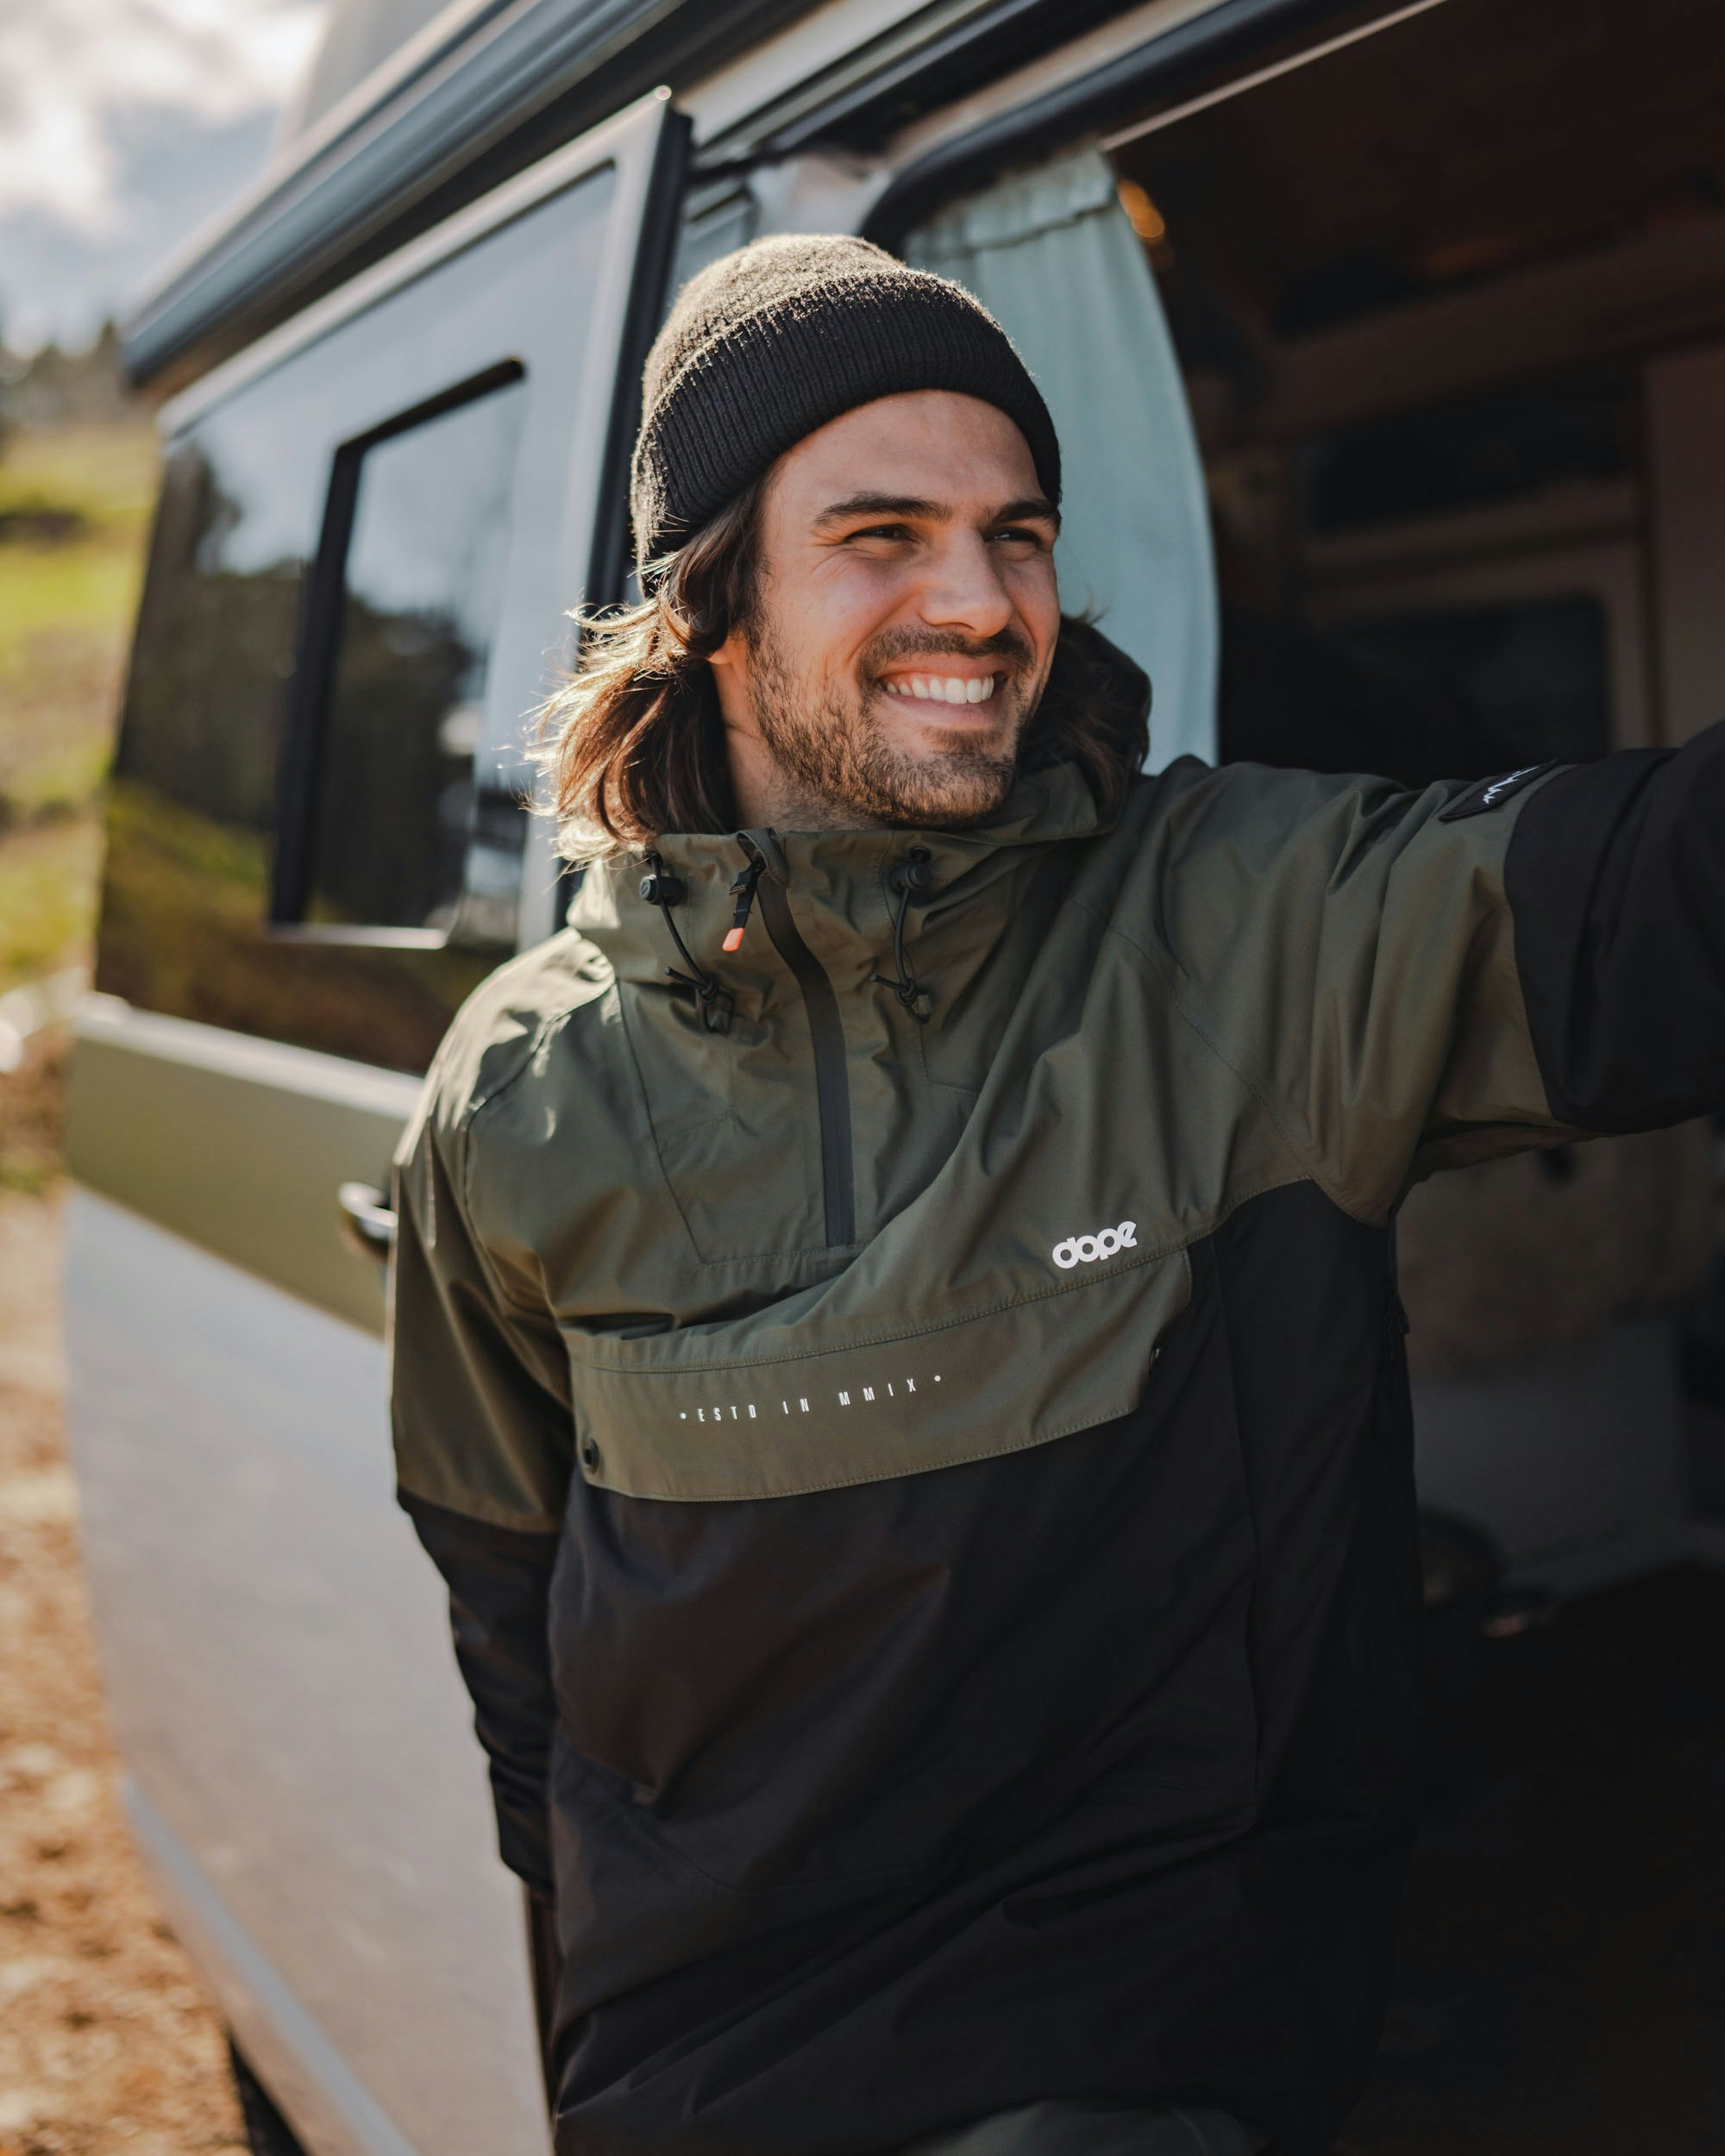
A waterproof jacket and pants are essential for hiking through the wetter zones of the national park, and we recommend going for lightweight shell options to help minimise bulk and optimise versatility. Bear in mind that the bottom of the mountain will be warm and wet, while the top will be freezing cold and dry (and maybe snowing).
Insulation and layering
Good synthetic baselayers which allow for maximum breathability are a good choice and will help keep you warm in the higher zones. Otherwise, make sure you have a lightweight insulated mid layer to help you effectively manage your body temperature, something that becomes much harder to do at high altitudes.
Gloves, hats, and socks
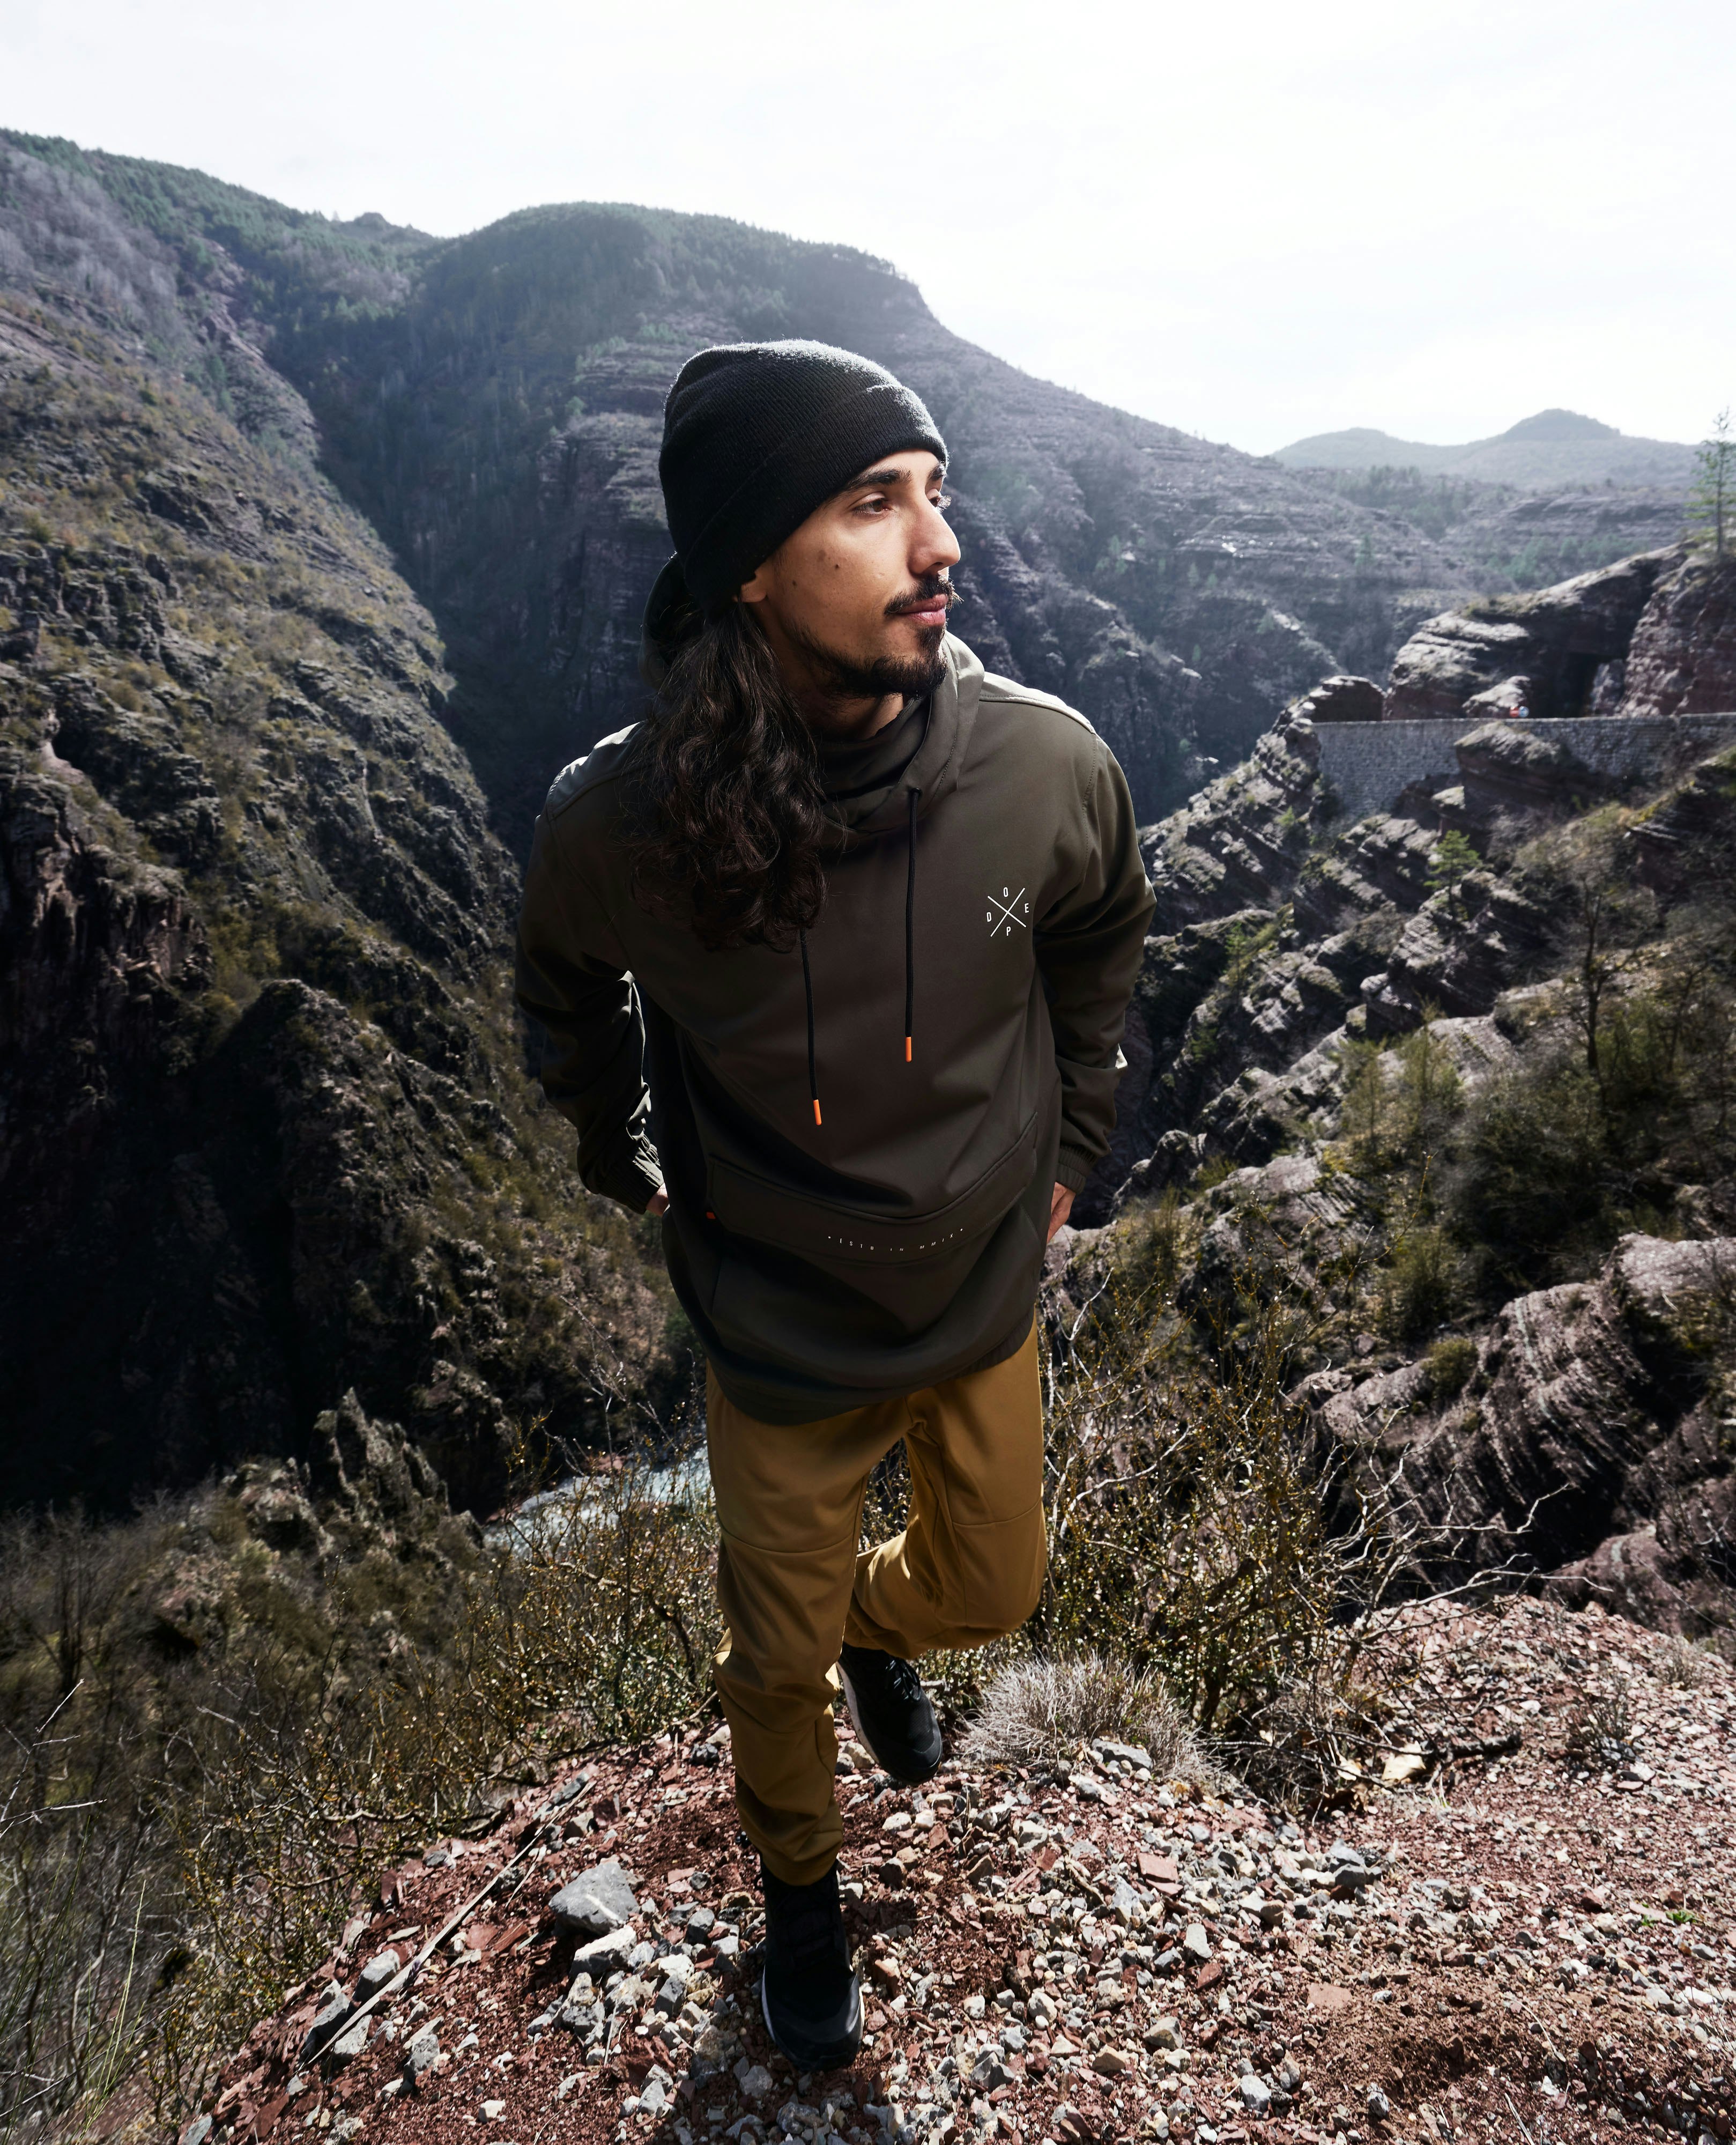
Packing a pair of lightweight liner gloves as well as thicker, waterproof mittens or gloves is a good idea so you can stay properly prepared for the different zones. When it comes to hats, one which keeps you warm is going to be a good choice! A beanie is often what people wear at the top, but lower down, something waterproof that can help keep your head dry, but also the sun off your face and neck is a necessity. And when it comes to socks … well, don’t buy cheap! Go for synthetic, quick-drying socks that won’t get sodden or soggy during the days.
Sunglasses and sun screen
You’re going to be in Africa, it’s likely to be sunny! Good, polarised sunglasses are an absolute must, as is sunscreen. At altitude, there’s less atmosphere to protect from UV damage. So despite being cold, and you possibly not even feeling the ‘warmth’ of the sun, you’ll burn like crazy. SPF 30+ is recommended!
Hiking pack, hydration, and first aid
While most food will be catered for on most trips, you’ll want a good hiking day pack at the very least! Often coming in at around 35L, these packs are big enough for a sizeable hydration bladder (also a must!), your food, spare clothes, and a first aid kit. Your travel provider will give you an exhaustive list of what to get, but take it from us — buy a waterproof backpack, buy at least a 3L hydration pack, and bring blister plasters. Lots of them!
Routes up Kilimanjaro
There are a number of routes up Kilimanjaro, and we’ve already discussed the possibility of curating a more bespoke route with a hired guide. But this is a very involved option, so we’ll cover the more popular routes here, so you get a better idea of what you’re looking at when searching for a travel provider and package.
Marangu Route
Distance: 48.2 miles / 77.6 kilometres
Duration: 6 days (avg)
The Marangu Route is the most popular route up Kilimanjaro, and ticks lots of boxes for those coming to this challenge with little in the way of mountaineering experience. While slightly longer by distance, the Marangu route offers some amazing vistas and a great mix of gentle and more challenging terrain. The paths are extremely well tracked, however, which makes this climb slightly ‘easier’. I put easier in quotes because there’s no easy way up this monster. With this route, you’ll also get to stay in A-frame huts on the way up, which means there’s less up and down than with some other routes. Staying in the park is an experience in itself, and after five days of hiking and acclimating to the altitude, you’ll set off in the middle of the night, making a long climb from Kibo Hut to Uhuru Peak in time for sunrise. The truly famous Kili experience, the Marangu Route fulfils many climbers’ desires when it comes to visiting this mountain and is definitely the first route to consider.
Rongai Route
Distance: 45 miles / 72.5 kilometres
Duration: 6 days (avg)
The Rongai Route is the only route up Kilimanjaro that starts from the northern side of the mountain, on the Kenyan border. The north side of the mountain offers a gentler gradient than other routes, so this route is often recommended to those with less backpacking or mountaineering experience. The final ascent to the peak merges with the Marangu route, so you’ll be setting off from Kibo Hut in the middle of the night to summit by sunrise. What this route doesn’t have is accommodation along the way, so there’ll be lots of returning to base during the week before the final long few days to the top.
Lemosho Route
Distance: 47.5 miles / 76.5 km
Duration: 8 days (avg)
The Lemosho Route is one of the longer ways to the summit, and often takes two days longer than the more concise Marangu and Rongai routes. Beginning on the western side of the mountain, this route is less travelled, less busy, and offers some stunning sights that the other paths don’t, like the Shira Plateau with its 100-metre tall lava tower, as well as lush rainforests and low-alpine forests you’ll end up missing with the other routes. You won’t get to stay in a hut with this route either and will be camping at Kosovo Basecamp before waking up in the middle of the night for the 7-hour ascent to the peak. If you want a mix of challenging and rewarding with a little extra wilderness thrown in, and the other two routes don’t get the heart going, then check out the Lemosho Route, it might be the one for you!
Preparing for your Kilimanjaro journey
Aside from the gear, the money, and the mental preparation, you’ll also want to ensure you’re physically prepared for the journey. Though it’s a tough walk without any climbs, it’s still not to be underestimated, and every year hundreds of ill-prepared climbers need to be stretchered off the mountain or led down by guides to ensure their safety. This comes down to a few key factors — altitude sickness, dehydration, and physical exertion.
Let’s talk about the altitude for a second. At higher altitudes, the air is thinner. What this means is that there are fewer actual gas molecules in any given volume of space. This means less nitrogen, carbon dioxide, but also oxygen. As such, you’ll get less oxygen into your blood, and a lower O2 sats (oxygen saturation) means you’ll begin to experience symptoms like dizziness, headache, nausea, tiredness, shortness of breath … If it's allowed to continue, this can develop into confusion and loss of consciousness. While rarely deadly, altitude sickness is no joke, and can be hard to spot, especially when the two other dangers come into play — dehydration and physical exertion, the symptoms of which overlap with altitude sickness; namely fatigue, headache, and dizziness. So staying on top of things is really essential.
This is why you’re never allowed to go up and back in a few days, and you need to go up and down out of the high altitude zones to allow your body to acclimate. There’s no way to cure the symptoms other than going down to a lower altitude and letting your body recover, and unfortunately, there’s no way to fast track this, either. Listen to the guides, they know what’s safe!
As for the dehydration, just drink lots of water! If you have a 3L hydration pack, make sure to finish it every day. And then some! At lower altitudes, you’ll sweat a lot and lose a lot of water, so it’s important to replenish that. At high altitudes, where the air is dry, you’ll still lose that water, but likely won’t notice it as you won’t be sweating as you normally do. So instead of focusing on how thirsty you think you are or how dehydrated you feel, just concentrate on drinking at least 3L, and possibly even 4L+ every day!
Physical preparation
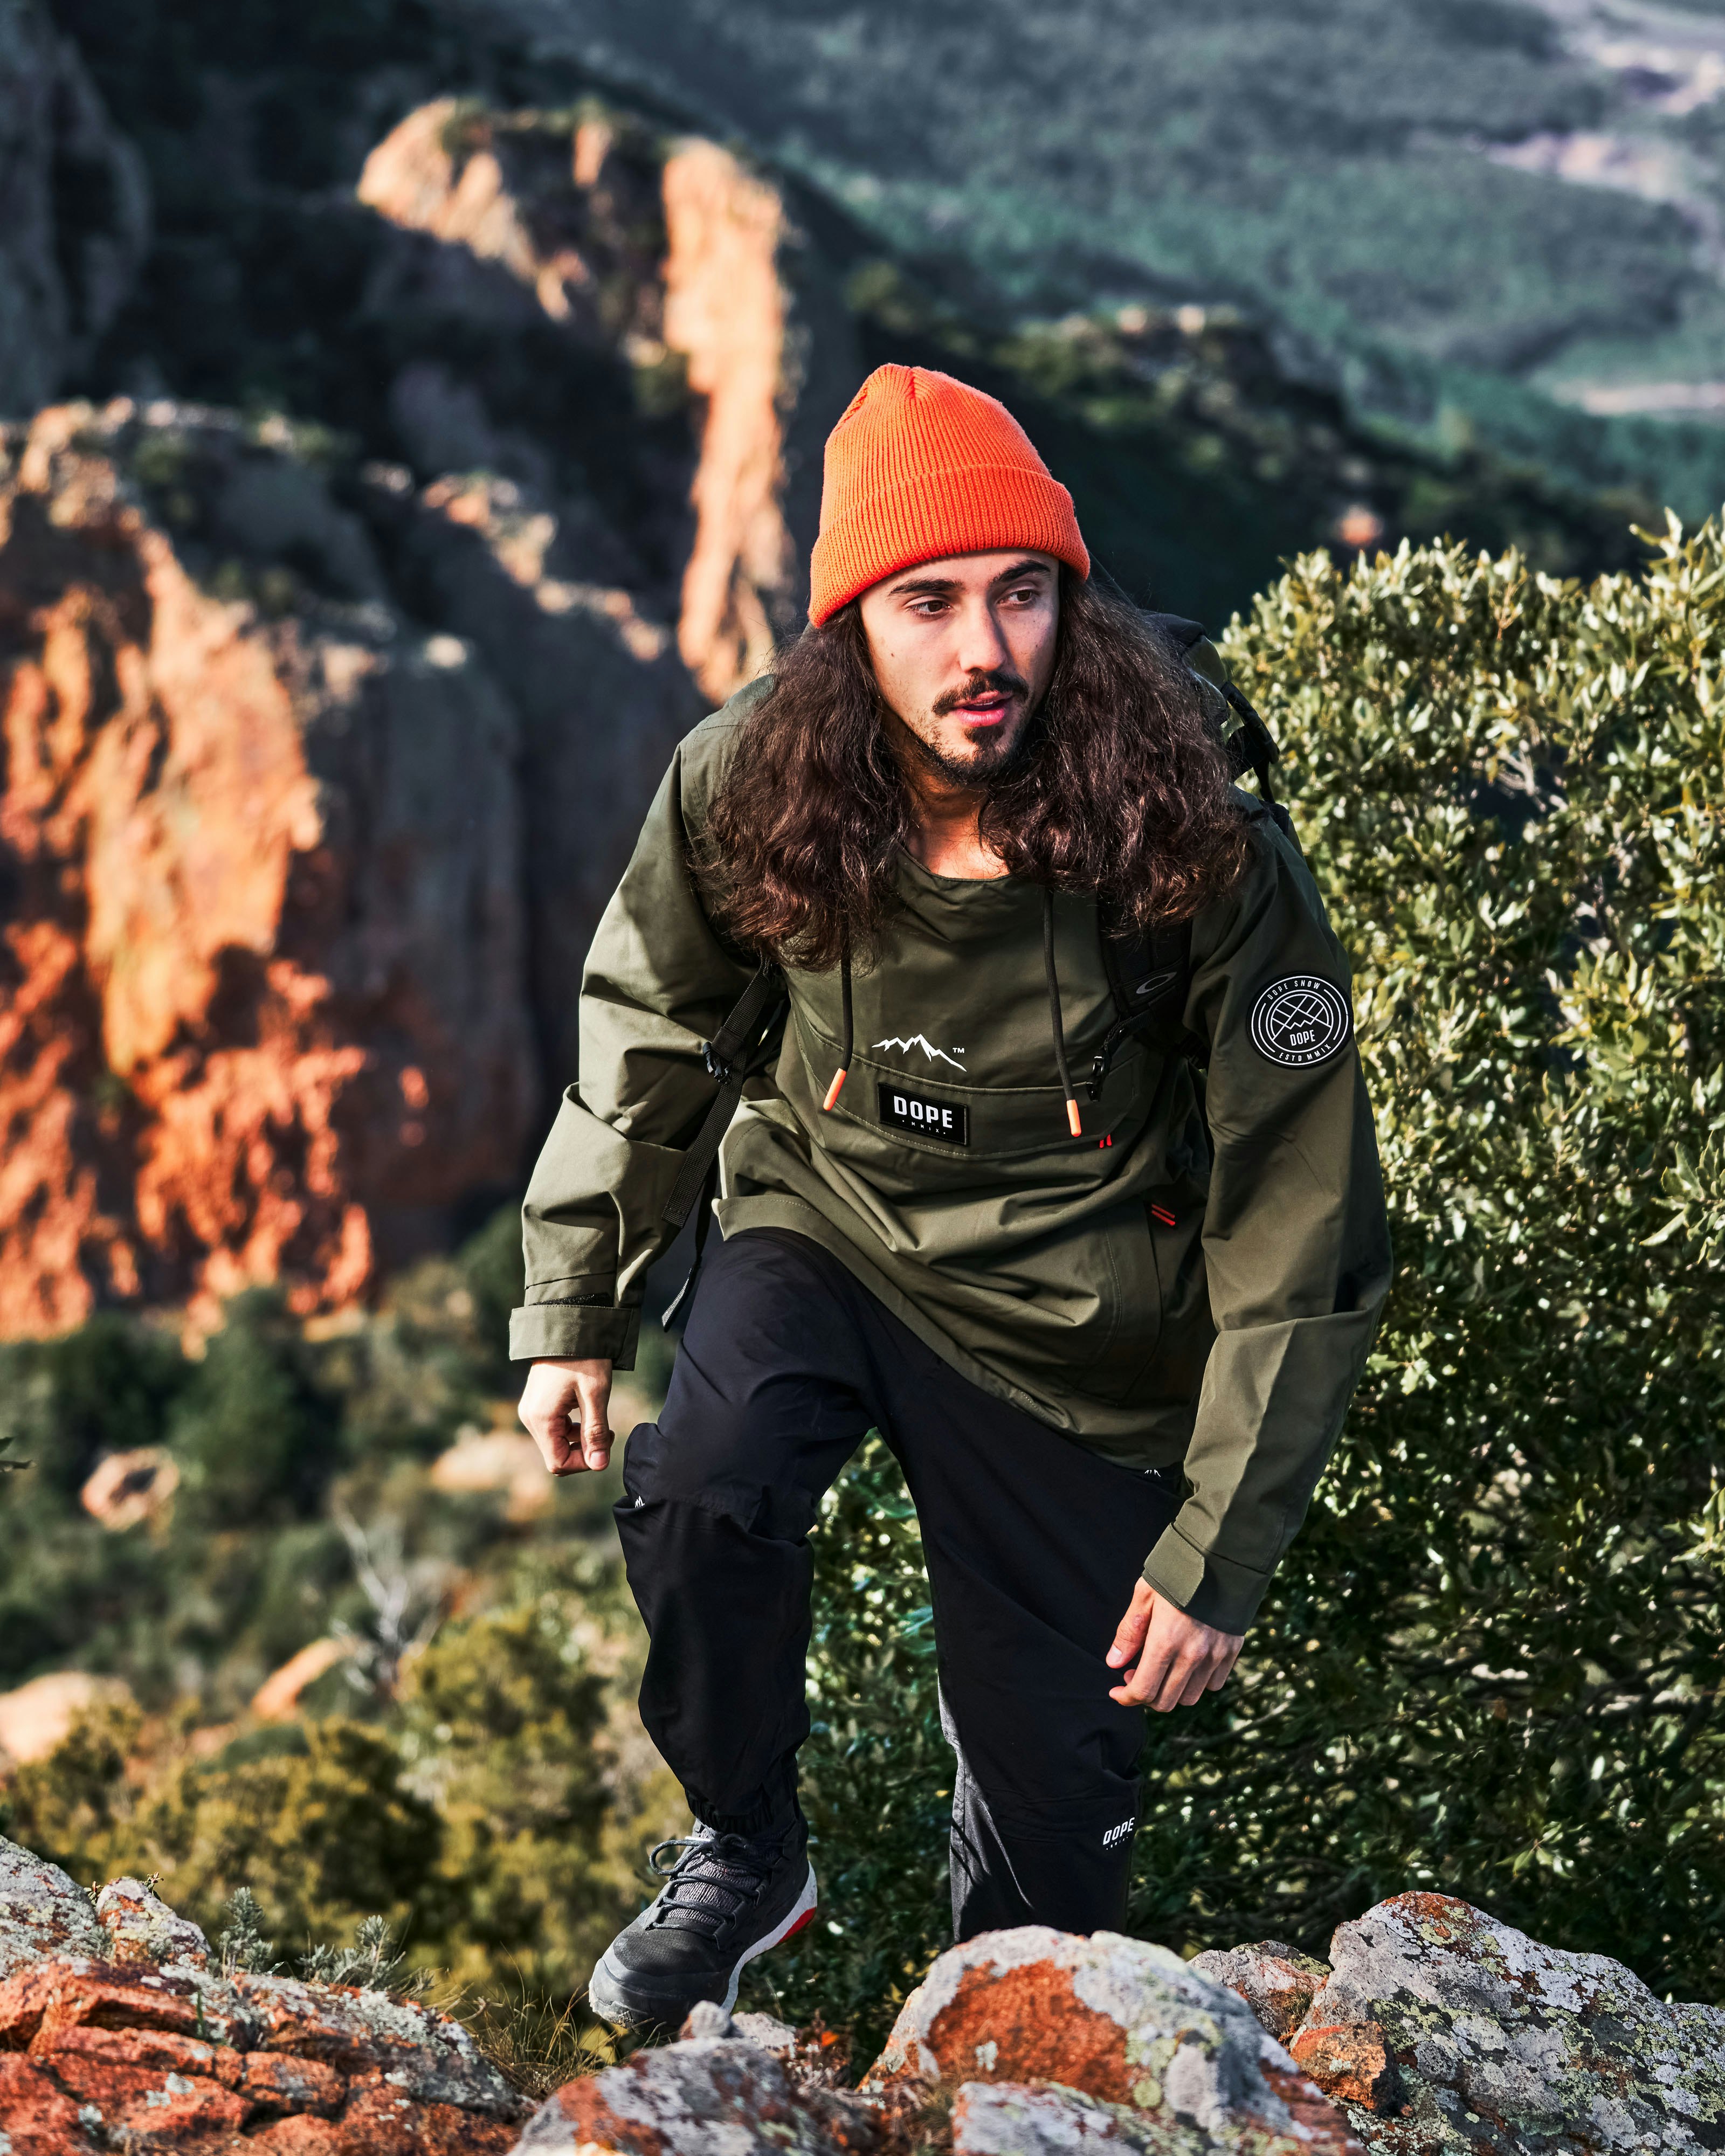
The fact of the matter is that going into a challenge like this without preparation is a pretty silly thing to do! While most days will consist of three to four-hour hikes that cover anywhere from 6-10km, doing it in the heat, the cold, at altitude, and for six days consecutively, with a heavy pack is the tough part.
We recommend that you load up your backpack and head out to do some hikes and walks locally. The Kilimanjaro climb will be all up and downhill, and it’ll be tough on your knees, ankles, muscles, and heart. Ensuring that you can comfortably walk uphill for extended periods with a weighted pack is an absolute must. The general rule of thumb is that if you’re doing a 75km mountain climb in 6 days at altitude in a warm climate, then you should be able to comfortably walk double that on the flat at a lower altitude.
You may not think it sounds too hard, but try walking 10km every day for 6 days, and see how your feet and muscles feel. If you feel good doing that, then you’re already off to a great start. Doing it with a pack at altitude will be more than twice as tough, so ensure that you can walk a lot further than you need to be able to, as it’s pretty much impossible to describe in words how different 10km is going to feel on the side of Africa’s tallest mountain to how it’s going to feel hiking around your local hills!
Wrapping up
Well, that about wraps it up! Hopefully, by the end of this guide, you know a lot more about Kilimanjaro, and what to expect if you embark on this wonderful journey. Not to be underestimated by any stretch, but also an accessible and enjoyable adventure, Kilimanjaro is a great mountain to set your sights on if you think mountaineering might be the [very serious] hobby for you, you want to raise some money for a good cause, or you just want to experience something new. There really is no feeling quite like being on top of the world, and we know that once you get a taste for it, it’s hard not to want another bite!
Related reading
